As a guy traveling to Hawaii, I tend to pack light.
While that does mean that I’m not always “styling and profiling” with an extensive vacation wardrobe, it does allow me to bring one important piece of camera equipment: a tripod.
And, after I share with you 5 reasons why a tripod is a great accessory to take to Hawaii, you may just want to bring one too!
Reason #1 to bring a camera tripod: Waterfalls
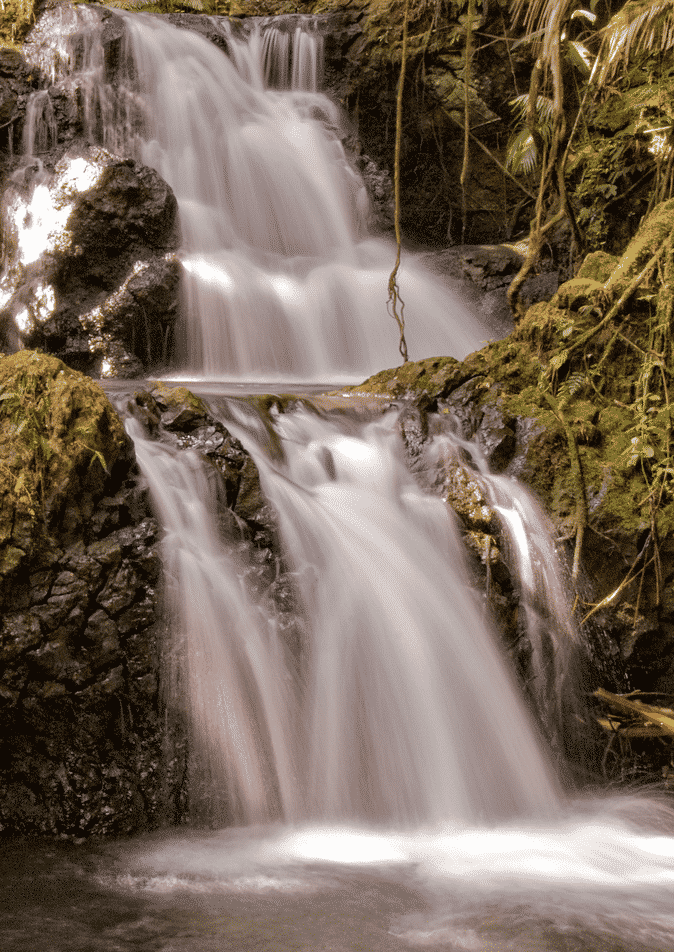
It’s true, you can hand hold your camera and get some great photos of waterfalls in Hawaii. But, with the use of a tripod, you can set your camera to take a “longer” shot by keeping your shutter open for 1 second or more. Now, if you hand hold your camera, your photo will look blurry–you simply cannot hold it still enough. With a tripod, you can keep you camera perfectly still and get stunning photos like this one I took at Hawaii Tropical Botanical Garden:
Reason #2 to bring a camera tripod: Night scenes
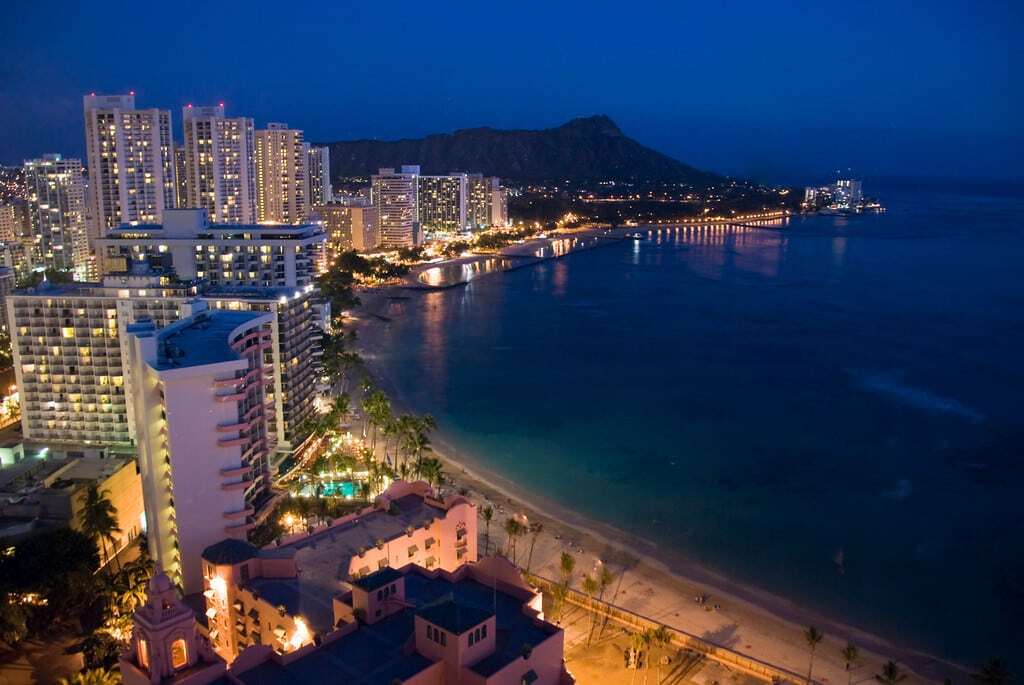
When the sun goes down, there’s not much light for your camera to capture. That typically means that the shutter has to stay open longer–and leads to blurry photos if you try to handhold your camera. A tripod lets you capture stunning night scenes like this one of Waikiki:
Reason #3 to bring a camera tripod: Selfies
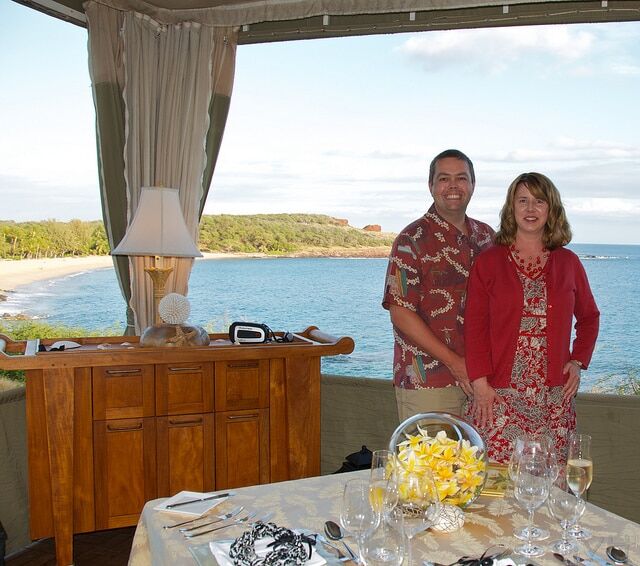
Unless you have really long arms (or an Xshot) it’s pretty much impossible to take a self-portrait shot without your arm being in the picture. That’s where a tripod comes in handy.
Reason #4 to bring a camera tripod: Fireworks
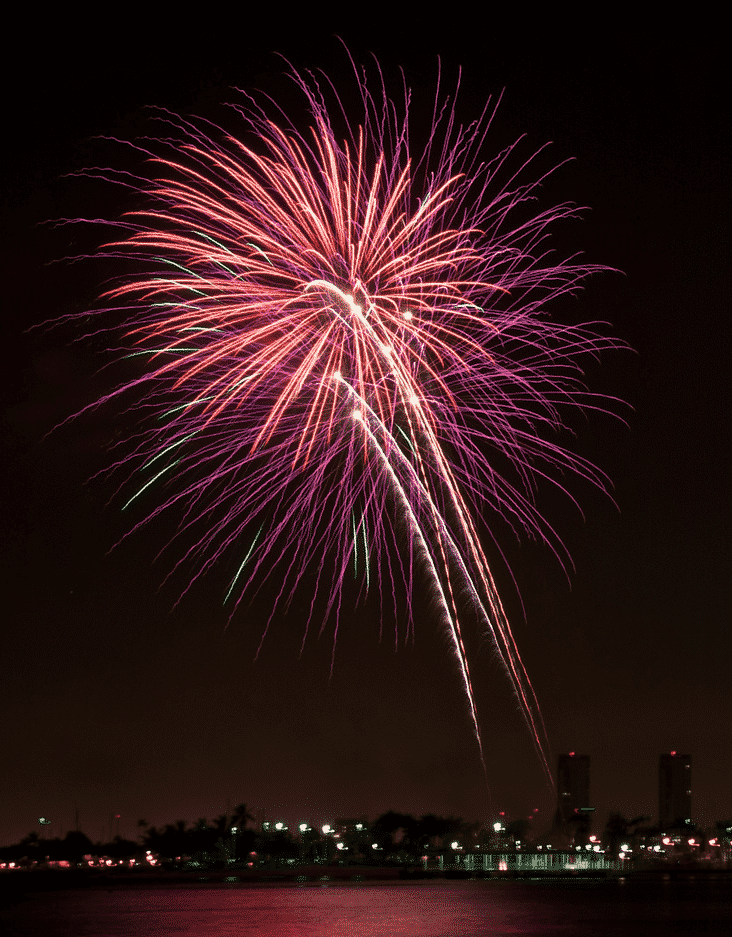
Again, you can take some great looking fireworks photos in Hawaii, with any handheld camera, but if you want to achieve that “star trail” look, you’ll need a tripod. Set your camera to either fireworks mode, or a shutter length of 1 to 10 seconds. That was my trick to getting this photo of the Hilton Hawaiian Village Friday night fireworks on Waikiki Beach.
Reason #5 to bring a camera tripod: Video
We’ve taken a lot of video in Hawaii and we’re always looking for ways to reduce the shakes. While you can eliminate some shaking in post-production, using a tripod eliminates it from the outset. A tripod also saves your arms from getting tired–especially when filming something long, like a hula or Hawaiian band like I captured at the Lanai Ukulele Festival.
Aren’t tripods bulky? How do you fit them in your luggage?
So, what tripod should you take on you Hawaii vacation? Don’t they take up a lot of room? Well, no. They can, but I prefer to take portable, collapsable tripods. Here are three that I recommend:
- The Pedco Ultrapod is great for placing on a table or some other high flat surface.
- Similarly compact, the Gorillapod has the advantage of legs that you can wrap around railings or tree limbs.
- If you want something larger (and great for video) I recommend the Manfrotto MKC3-H01. It extends to 60″ but collapses down small enough to fit in a carry-on or backpack!
Bonus tips:
- Experiment with the best setting for your camera and photo type. It could be that based on the lighting, you can only set your shutter to half a second or it gets blown out (too bright).
- Use a remote or your camera’s self timer. Just the act of pushing the shutter button may be enough to cause blurriness–even with a tripod. Avoid that by setting your camera to the self-timer mode.
- If you can’t take a tripod, set your camera on a wall or some other sturdy object.
- If using a DSLR with any kind of vibration reduction technology, turn it off when using a tripod. Strangely, vibration reduction can actually create vibration when using a tripod.
Have you taken any great photos in Hawaii using a tripod? We’d love to see them!

3 comments
Great post! – Reason #4) Time-lapse video of the sunset or clouds. I understand they make an app for that. One of these days I need to give it a try.
Sorry… I can’t count.
I find I could use one a lot at night because the camera needs to be really still when it is in low light. In addition to the small alternatives you mentioned, you can also use one of those small bean bags and rest it on top of it. I’ve seen people do that on vacation. It really isn’t that difficult to get some sort of camera support into your luggage on your next trip.